Wednesday, March 2, 2016

Easter Eggs


By: Megan

Around this time every year I get really excited about coloring Easter eggs. I mean, I get super super super excited about it!  I spend hours on the internet looking for new ideas to try and cute way to make these eggs the best they can be!  I just love Easter eggs.

Then reality sets in.

I usually get so swept up in things at work, birthdays, the kids... also known as life.  I'm usually lucky to make eggs the night before Easter and they are always the store bought kits and maybe a crayon or two to make them fancy.

Not this year people.  Not this year.

I have quit my job, the kids will survive and maybe actually help, and I still have a birthday to plan but I can keep that in check since, as I stated before, I quit my job!

I decided to throw together a list of all the things that caught my eye this year.  Scroll through and if something catches your eye let me know!  Posting pictures of your attempts would be even more fun! I will be sure to follow up with my efforts. Fingers crossed I can pull of at least one of these ;) 

Happy decorating!


Sugar Cookie Mousse cups


by: Mimi
Type: Dessert
Serves: 4-6
Time: 20 minutes to prep 1 hour for stuff to set up.


So I have seen this recipe mostly in Summer food blogs but I thought this would make a good Winter dessert. Why? It's light, refreshing and well, simply put, it reminds me of Summer (sigh).

Let's get started making a mess!

Ingredients:
  • 1 3/4 cup of 1% milk
  • 1 pkg chocolate instant pudding
  • 2 cups of lite whipped topping
  • Sugar cookie dough (i used my Aunt's recipe but I'm pretty sure refrigerated dough would work as well)  


Instructions:


  1. Mix 1 3/4 cup milk, 1 pkg. chocolate instant pudding and 1 cup of lite whipped topping together with wire whisk until stiff.  
  2. Pour this mixture into 1 gallon Ziploc bag & refrigerate.
  3. Roll out sugar cookie dough into about a thin layer, use circular cookie cutter, mine have scallop edging so it makes it look super cute (about size if half dollar) and cut out.
  4. Flip mini muffin pan over and gently press circular cut outs onto top of muffin dents. (Be sure to grease first).
  5. Cook for about 8 minutes until golden brown. Let cool for about 5 minutes.
  6. Cut small hole in corner of pudding bag & gently squeeze in mousse.  Drop remaining whipped topping onto center of cup.
Chill 2-3 hrs before serving .


Noteworthy:
You could put a low-fat fruit dip in here and add fruit.  Just put cool whip or whip cream in here and add fruit and sprinkles and it would delicious too.


Let me know if you try it and what you think.  Plus any tweaks you might have added to make it more your own!  Bon Apetit!


Tuesday, March 1, 2016

Chicken Dumpling Soup with Rice

by Megan

You know what I love in the winter?  Yummy, comforting delicious soup.  I love it when you sit down and can stick your stuffy nose in the steam and finally breathe for the first time all day.  It's the best way to settle down at night before bed.

Instead of one of those days, I chose to make this soup on a random 60 degree day in February in Illinois. Who knew it was going to be 60 degrees in the middle of winter?!? I know, my timing isn't the best, but I had all the stuff so onward I went!

The recipe is pretty simple.  I couldn't find one on Pinterest that I loved so I ended up just taking bits and pieces from several different ones and making up my own.  It was absolutely delicious and it looked fantastic.  Sadly, you will have to take my word for it because the pictures I took are no where to be found!  It was such a good recipe though, I thought I would share anyway.  I will be sure to update with pictures when I make it again!

Chicken Dumpling Soup with Rice
by: Megan
Type: Soup/Main Meal
Serves: 8-10

Ingredients:
FOR THE BROTH
  • 2 stick celery, very finely diced
  • 1 small onion, finely diced
  • 2 carrots, very thinly sliced
  • olive oil (enough to cook the veggies)
  • 6 cups chicken broth
  • 6 cups water
  • 1 T. salt (or more, to taste)
  • 2 bay leaves
  • 1 lb chicken breast, cubed into small pieces (we used a rotisserie chicken and shredded it)
  • 2 T. chopped dill
  • cooked rice
FOR THE DUMPLINGS
  • 2 Cups flour, sifted
  • 2 eggs
  • 1 T sour cream
  • 6 T melted butter

Instructions:

  1. Use a large soup pot (5 Qt or more) and add olive oil and the celery and onions.  Cook for about 5 min or until onions start to soften
  2. Add carrots and cook for an additional 3-5 min.
  3. Then pour in chicken stock and water and bring to a boil.  Let boil for 10 min.
WHILE THE SOUP IS COOKING MAKE THE DUMPLINGS
  1. Use a medium sized bowl and sift flour into the bottom in a pile
  2. Make a well in the middle of the flour and add eggs and sour cream.  Fold together until the dough looks like paper.
  3. Add melted butter to dough and knead together until it is well blended.  Dough should be all the same color.
  4. Form the dough into a ball and divide into 2 equal portions.  Roll each portion into a long, skinny log and cut into small pieces (¼ inch at the most).  Be sure to make it them small because the dough will expand once in the soup.  
BACK TO THE SOUP
  1. Once soup has boiled for 10 min and the dumplings are ready, put 2 bay leaves and dumplings into the soup broth.  
  2. If you are using chicken breasts, also add the cubed pieces to the soup at this time.  
  3. Continue to boil for an additional 8-10 min or until the dumplings are finished and the chicken is fully cooked.
  4. Serve the soup in bowls and add rice to taste.
  5. Before serving sprinkle with fresh dill if desired.

Noteworthy:

We add the rice to this because it reminds my husband of his grandma.  You do not need it but it makes the soup a little extra yummy!


Tuesday, February 23, 2016

Budget Back Door Shoe Rack

by Mimi

Skill Level: Newbie
Time Needed: 4 hrs total (it's all about watching paint dry- so plan on letting things go overnight to ensure it's good and dry)

The need for this project popped up due to all the "man" sized shoes that accumulate at my back door in my kitchen.  And since I don't have a mud room yet (hint, hint), I need to keep this high traffic area clear from shoe debris.  In winter it seems that all people in my house try to keep most of their shoes in this area. But we have a small area and that is simply NOT possible. So my solution (which I think is being VERY generous) is that you can keep a pair of boots and one other pair of shoes in this area. 
One day while estate sale-ing with my co-conspirator Megan, we came across some wire magazine racks, 2 for $.50! Now these are not petite magazine racks they are about 21" long by 12"wide and about 5" depth (at the widest part).  Which is perfect for me because the smallest shoes that go in them are mine (sigh). Did I mention that my 9 yr old's foot is my size?

Let's jump in and get started.

Materials needed:

  • wire magazine racks
  • spray paint (I used hammered silver by Rustoleum)
  • Wire brush or sand paper (meant for metal)
  • paper towels or work cloth and water
  • drill & drill bits
  • screwdriver
  • Level, pencil
  • ClosetMaid 1770 Support Bracket Clips (wall mounting for drywall)
  • 10x12 plastic tarp


Directions:

  1. Start by taking the racks and seeing where you are going to position them on the wall. Take pencil and make marks where they will hang.
  2. Use level and draw line from 1st hole to 2nd hole making sure that the line is indeed "level," by using your level to draw the line between the 2 holes. Make sure you have adequate space between the 2 racks for the shoes to fit.**ClosetMaid suggests 12 inches between brackets but on ours it is 7".
  3. Next take wire brush (or your sandpaper) and gently scrape at any rusty areas.  We are not going to be too worried about the rust here just want good prep so the paint will adhere to the surface of the rusted out parts. **If these are brand new and you just want a different color, no sanding necessary just skip to step 5 (most of your paints have primer in them now anyway).
  4. Take paper towel and dampen. Wipe the surface of all your pieces and let dry.
  5. Lay racks on tarp.  I like to prop mine up a bit on pieces of old 2x4s so I can get around and see different angles while I’m spraying.
  6. Spray the racks evenly.  At first the previous color of the rack will show through a bit.  Wait to semi-dry before 2nd coat.
  7. While you are waiting drill your holes for your securing brackets and gently tap them into place.
  8. Time for your 2nd and 3rd coats of spray paint. You want to ensure that your racks are well saturated with paint and that there is no drippage or unevenness. Let dry for a overnight and depending on the temperature.  (if it is cool out it will take much longer to dry)
  9. Once dry, hang the racks on the support brackets and start cleaning up those shoes!


Noteworthy:
I noticed that during winter the shoe racks accumulated hats and mittens too.  Which is fine because I mainly just want to keep the back door area clean and tidy.
After I had finished this project I went and looked at reviews of the support brackets by ClosetMaid and there were some mixed reviews.  If you are concerned that your shoes or items are too heavy you can:
Remove the nail/tack out of the bracket and saw off the plastic back wall insert and use regular screw type "mollys" to anchor in the drywall.  
Mine have been fine and have been up since November so I will keep you posted though if anything changes.
Now go be Experimental DIY-ers!

Monday, February 15, 2016

Mimi’s Lasagna

by: Melissa Hanley
Type: Main Dish
Serves: 4-6


I first tried a version of this recipe about 20 years ago. It was originally a Weight Watchers Lasagna that tasted good but needed a lot of tweaking to pass the picky taste-buds of my husband. I think eventually it kind of came full circle and is pretty much where traditional lasagna started. You will notice that I try to cut calories, fat or cholesterol where I can without sacrificing taste.

Let's get started making a mess!

Ingredients
  • 1 box of lasagna noodles
  • 3 cups of ricotta cheese
  • 1.5 cups of parmesan cheese
  • 3 cups of shredded Mozzarella cheese
  • 3 egg whites or 9 tbsp of box egg whites
  • 1 lb of ground pork or turkey
  • 1 pkg of turkey pepperoni
  • 1 jar of spaghetti sauce
  • 1 tsp of salt
  • 3 tsp of pepper
  • 3 tsp garlic powder
  • 3 tsp of dried chopped basil


Instructions

  • Preheat oven to 400 degrees F. Spray non-stick onto bottom of 9 x 13 baking dish.
  • Brown the ground pork or turkey in a skillet with 1 tsp of pepper, 1 tsp of salt, 1 tsp of garlic and 1 tsp of basil. If you use ground turkey you will need to add a touch of olive oil to the skillet because there is not a lot of fat in turkey to help it cook and not stick.  If you use the pork you will need to blot or drop onto a plate covered in a paper towel to get excess grease off. Set aside.

  • Next is the cheese mixture. combine 3 cups of ricotta (I used 2 cup Fat free and 1 cup whole milk in the hopes that it would be a little healthier) with 9 tbsp of egg white, 1.5 cups of parmesan, 2 cups of shredded mozzarella, 2 tsp of garlic powder, 2 tsp of dried basil, and 2 tsp of pepper. Mix well with spoon.

  • Now we begin layering the ingredients.  Place 1st layer of noodles on bottom of greased baking dish. Next spoon cheese mixture onto noodle layer and spread around,  Pour a generous amount of Spaghetti sauce on top of cheese (about 1 cup) and spread around.  Last comes the browned pork/turkey, place about 1/3rd of meat onto the sauce layer.  Repeat until you have 3 layers.

  • Last layer follow the same procedure as in step 4 but top your meat layer with the turkey pepperoni and the remaining cup of shredded mozzarella.

  • Cover lightly with tin foil and place in oven covered for 35 minutes.


  • After 35 minutes remove foil (contents should be bubbly) and continue cooking for 12-15 more minutes (depending on the level of desired browned edges you like).


Noteworthy:
Vegetarian (not Vegan) Version
If you would like to increase your health factors this can be made without ANY meat.  Up the taste by adding a bit (around 2 tsp) of dried onion into your cheese mixture.  Also add fresh spinach in each layer as well.  
Gluten Free alternative

Substitute regular lasagna noodles for very thin sliced green and yellow zucchini.  Please note that cooking times will vary with this substitution as the layer of zucchini on bottom could burn and stick to dish.

Wednesday, January 27, 2016

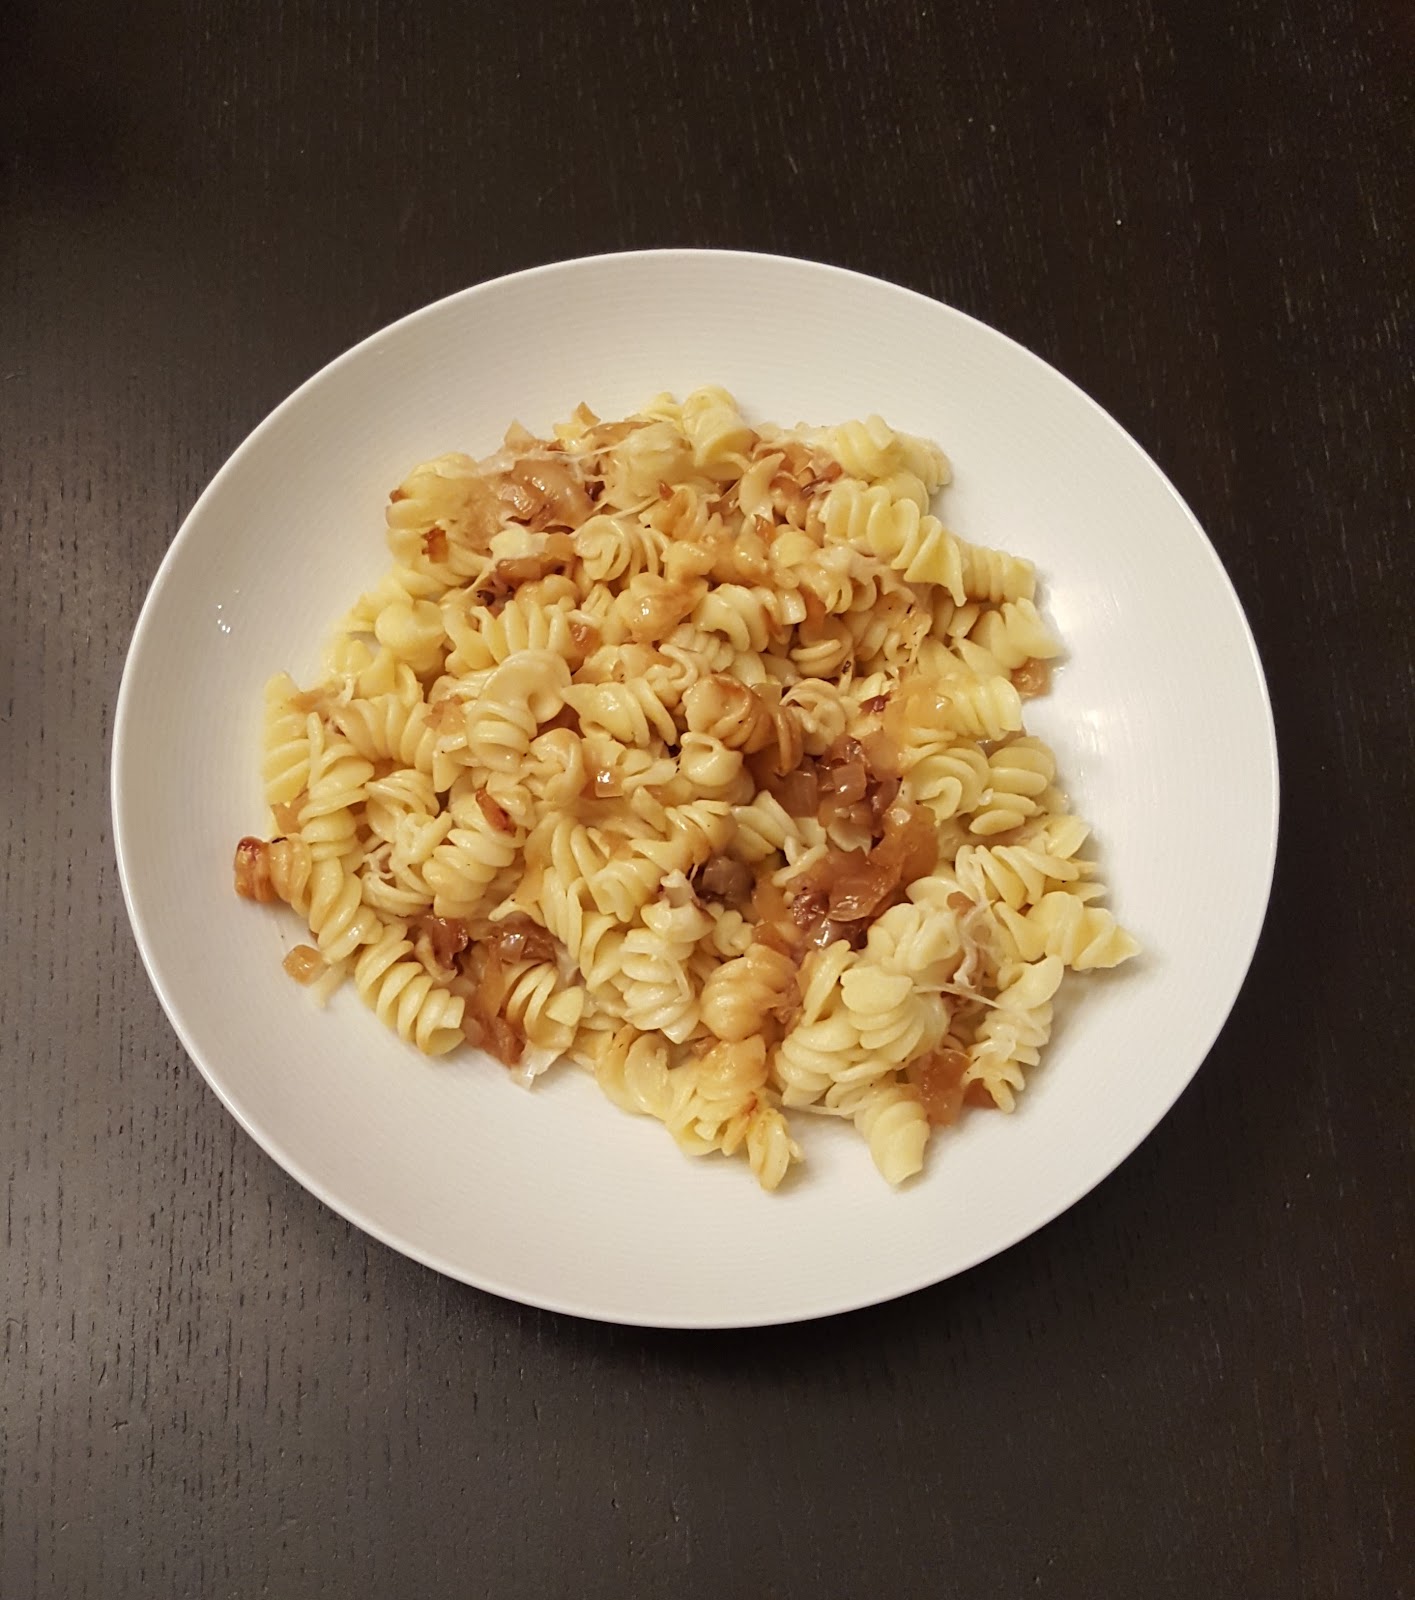
Feel Better Pasta

Feel Better Pasta


Let me start by saying that there is nothing healthy about this meal.  This pasta is a special occasion dinner which I only seem to make after I’ve had a horrible day or if I am really, really sick.  It makes me think of my mom and being a kid and it’s just soooo yummy!


This dish originates from my mom.  When I was a kid she would use leftover spaetzle (a german noodle type of yummy goodness) to make this dish.  Since I don’t have the time or patience to make spaetzle, I had to improvise!  Cue the rotini noodles and the rest is history.  This is a super yummy meal for those cold winter days… comfort food at its finest!  I hope you enjoy it as much as my whole family does!


Ingredients
  • 1 lb. box Rotini pasta
  • 2 - 8oz. bricks swiss cheese (shredded)
  • 2-3 onions, depending on size
  • butter (2-3 Tbs. depending on how many onions you use)


Instructions
  1. Start noodles and boil according to directions on box.  I prefer to leave them a little al dente for this recipe.
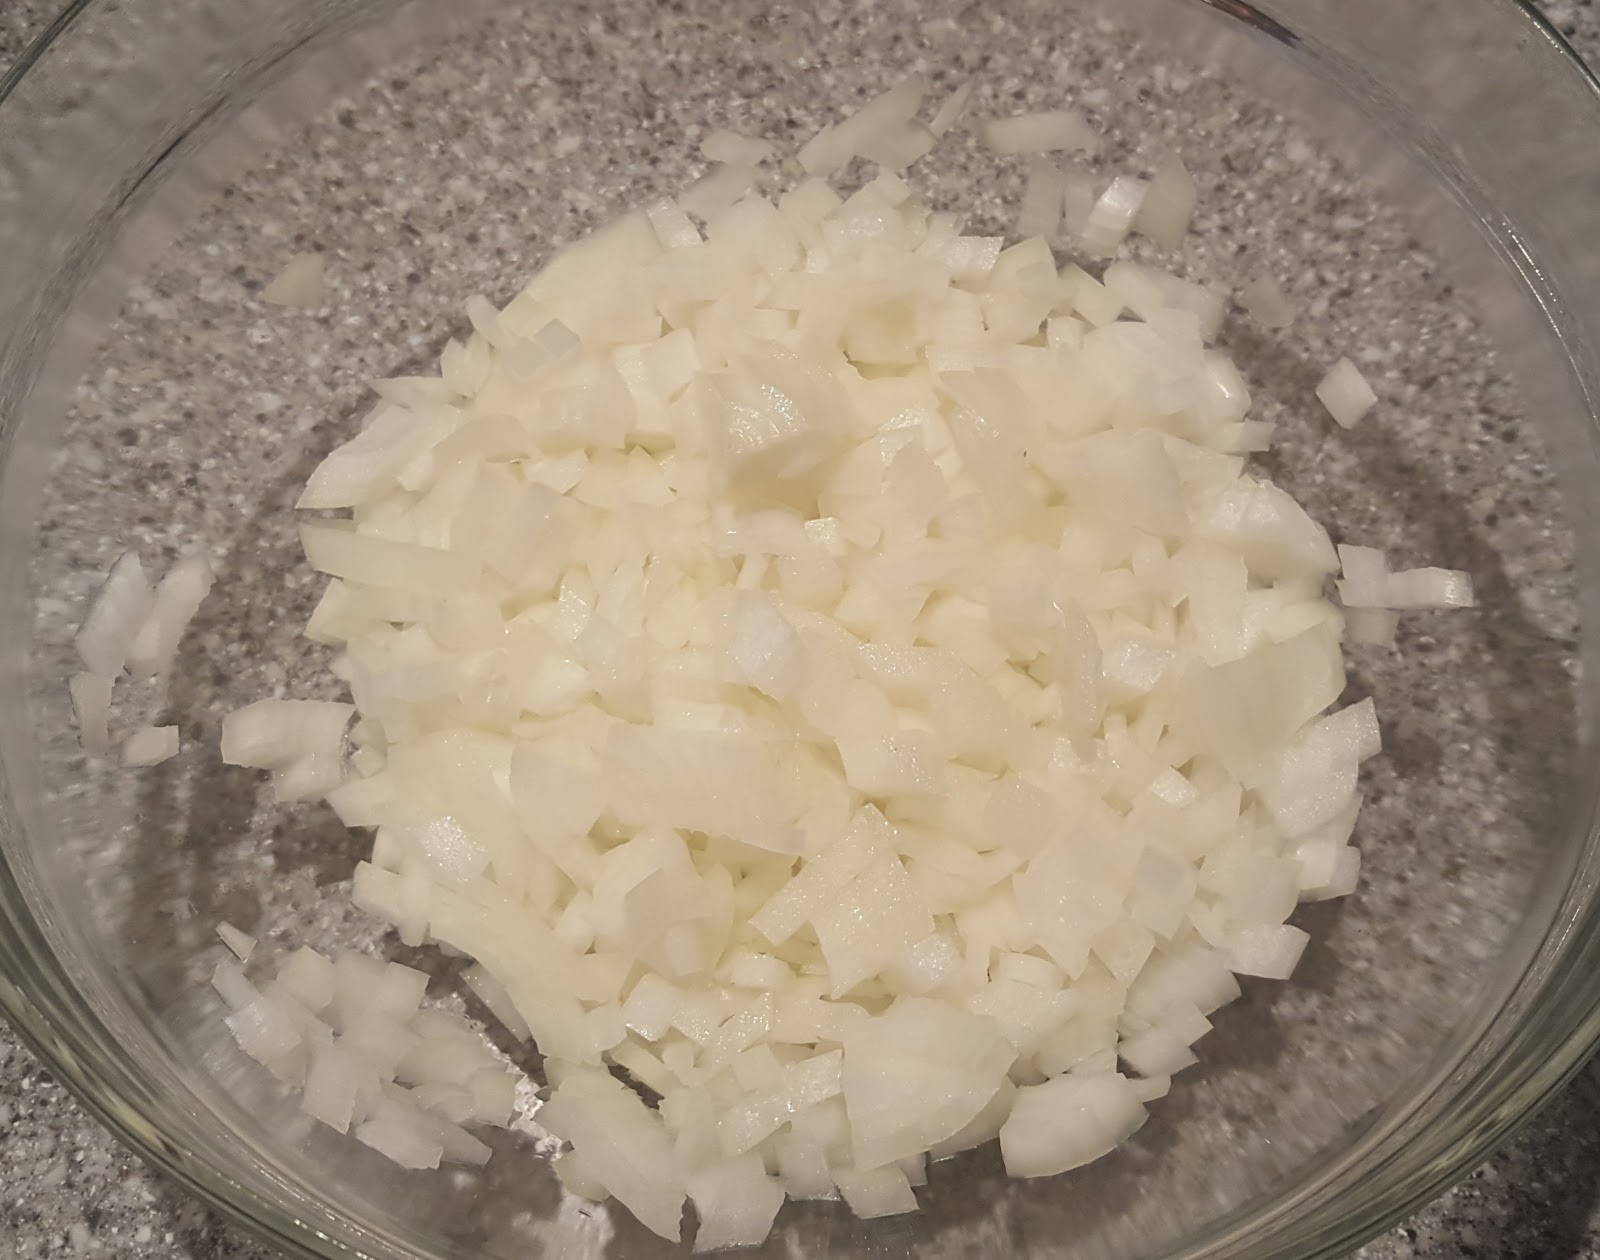
  2. Peel and dice onions.
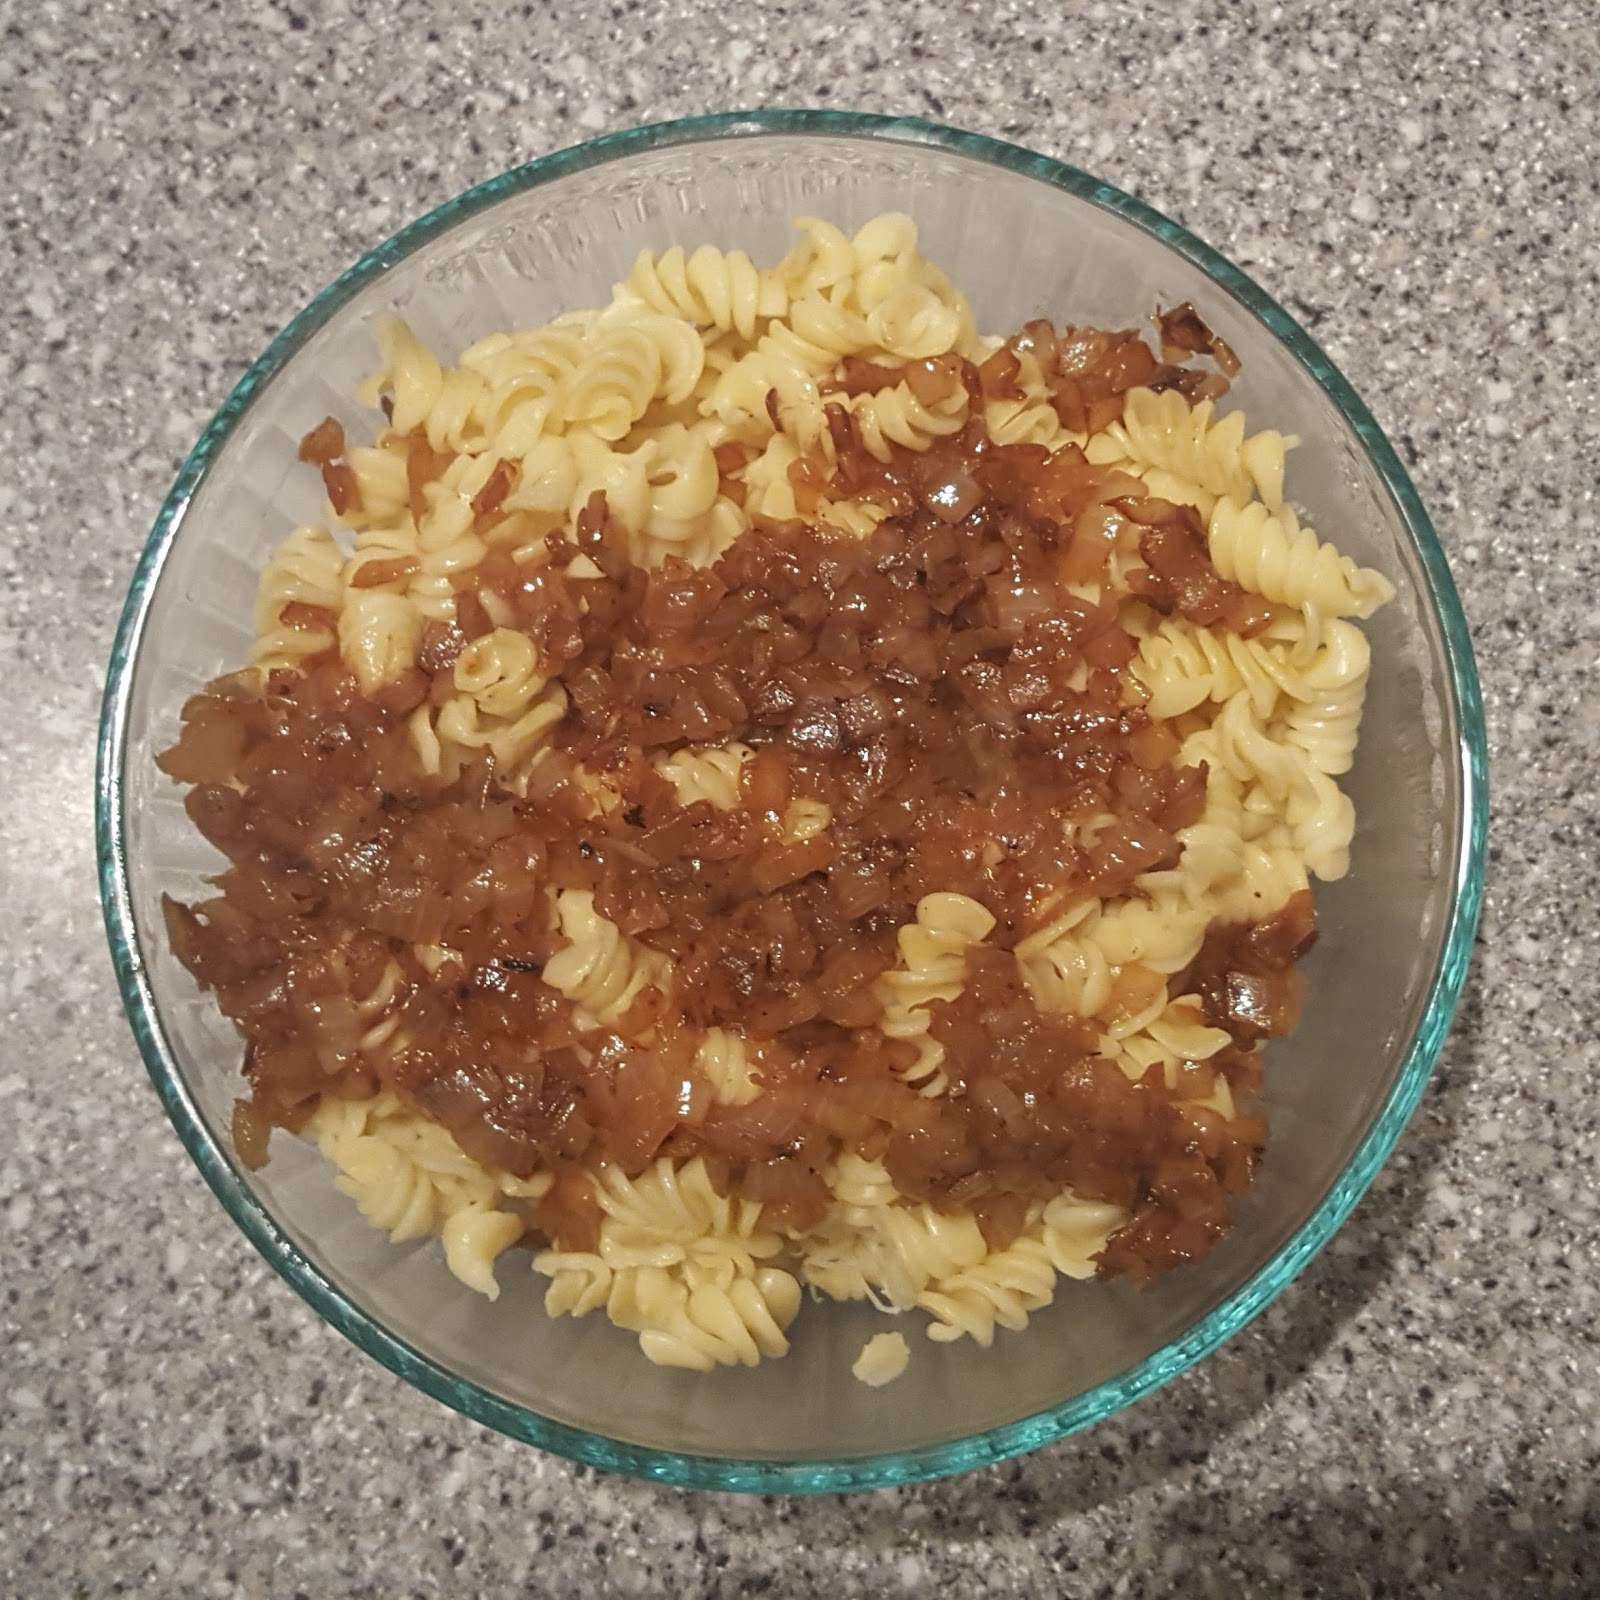
  1. Put butter in large frying pan and brown onions on low heat.  Make sure they are nice and caramelized.  
  2. While onions and pasta are cooking, shred Swiss cheese and set aside.  I use the large side of a box grater but a food processor will work too.
  3. Once noodles and onions are finished take a large bowl and start layering your ingredients.  It’s best to do this when the pasta and the onions are still warm so they can melt the cheese.  I layer with noodles, then cheese, then onions.  Repeat 3 times until all ingredients are used.


  1. Cover dish and let stand at least 10 min.  If cheese is not fully melted you can heat up individual portions in the microwave.
  2. This recipe always needs salt no matter how much you add while cooking! Be sure to add to taste, it makes a HUGE difference!
  3. ENJOY!